
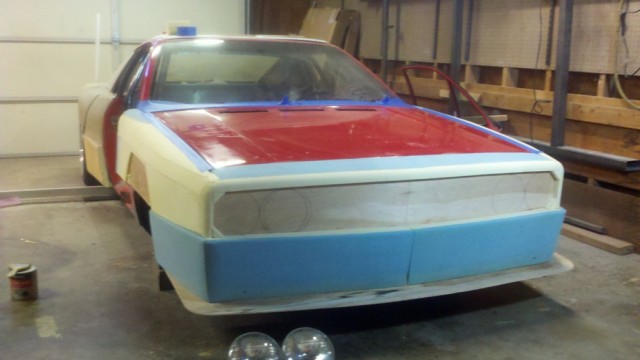
4/10/12 – I welded the brackets and hinge points to install the tilt front end.

9/6/11 – I stripped all the wood and polyurethane foam off the underside of the front body clip and I’m reinforcing the body with fiberglass mat. There is some distortion in the body clip resulting from the heat produced by curing of the fiberglass mat so I see a lot of sanding a filling in my future. I cut the wheel openings so that I can drop the body clip over the front frame for fitting. I’ll add updated pictures with my next post.
8/28/11 – Last week I mounted a huge 17×31″ two row aluminum radiator. The radiator is tilted back slightly to fit under the hood. I reinforced the fragile underside of the front body clip by bonding strips of polyurethane foam to the underside of the hood and covering them with two layers of heavy fiberglass mat to form a frame. The horizontal surface of the hood is very stiff now but with the penalty of some extra weight. I’m cutting the wheel openings and reinforcing the remaining structure so I can hinge the hood to the front of the car.
8/14/11 – Apart from a few minor brackets and the radiator support, the front chassis is complete. The pedal box is also complete including Wilwood pedals, clutch cylinder and power brake booster. The steering linkage and column are complete. Next steps: Mount the radiator, seal and paint the front chassis. Reinforce the front fiberglass body assembly, cut wheel openings and hinge the front body to the chassis.


7/11/11 – After locating the best rack position to minimize bumpsteer, I machined flanged inserts to mount the steering rack and welded them into the crossmember. I added roll cage tubes between the main roll hoop and the rear firewall, plus the two braces from the top of the roll hoop to the rear suspension. I’m stripping the few remaining items from the interior in preparation for primer and paint. The car will be painted white.
7/4/11 – I finished the majority of the fabrication on the front suspension. The fuel tank will fill most of the interior space in the front subframe. I am building a stress bar that will tie the upper shock mounts together and back to the front firewall. The stress bar will also serve to hold the fuel tank in place. I need to machine various spacers and mounting bosses to finish the suspension. After taking bumpsteer measurements I will finalize the position of the steering rack, install the steering shaft and fabricate the pedal box.

6/26/11 – Permanently mounted the interior roll cage and added missing bracing including the dash bar. Installed tubes to tie the subframe into the roll cage through the front firewall. Fabricated lower front suspension links. The Lancia chassis has become very rigid with the addition of the roll cage. The doors click shut with a solid feel the car never had before. The car is still light enough that in its current form with engine and transmission, I can lift the front of the chassis off the ground by the front subframe. To be fair, most of the engine weight is sitting on the rear wheels. I hope to finish the front suspension this week and do final welding and finishing of the front subframe.
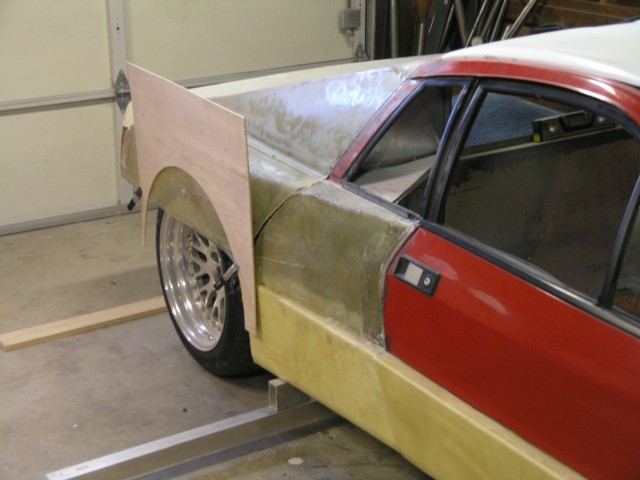
6/23/11 – After weeks of planning and modeling different suspension layouts, I started construction on the front subframe. The front suspension uses lowered spindles, prefabricated upper a-arms and quick ratio Ford power steering rack. I will be building the lower lateral links and strut rods. Front braking is a Wilwood six piston kit with 13″ two piece rotors. The lightweight 3 piece wheels are 17×10″ front and 17×12″ rear Complete Custom Wheels.

5/1/11 – The sheetmetal front of the car was removed. I added 16 gauge steel sheet to the lower half of the front firewall to provide a flat, rigid mounting surface for the subframe. I am recontouring the wheel wells to fit 26″ tires and working on the front subframe design.
4/23/11 – The front was covered with a four ply fiberglass skin which was pulled from the body after curing. Some of the foam will be encapsulated into the front clip but the supporting wood structure will be removed after additional reinforcement. I will bond strips of foam to the underside of the hood area and cover them with fiberglass to create an internal rib structure.
4/15/11 – Preparing the front for the fiberglass skin. Headlight buckets and lower cutouts will be added afterwards. It’s still too cold in my garage to do much work.

11/27/10 – Not much to report. I received the tubes for the roll cage and fitted them to the passenger’s compartment. My unheated garage is too cold to do much work.
10/26/10 – I attached the quarter panels to the car and I’m working on the rocker section below the quarter panel. My roll cage is ready for pick up.
Summer 2010 – I completed the rear frame and suspension modifications to the factory chassis in September 2010. I removed the entire chassis from the rear firewall backwards. I created a new firewall from 2×3″ tubing and positioned it more upright to allow room for the engine. The factory Scorpion had a transverse engine layout, but the O37 uses a longitudinal (lengthwise) position for the engine. I added about 2″ to the wheelbase behind the firewall to replicate the extended wheelbase of the 037.
I built the engine cradle and suspension from 2×3″ tubing, 1×2″ tubing and 1.5″ round tubing. I used the larger rectangular tubing where it would be subjected to bending loads from the engine and the smaller tubes where I could strengthen mounting points using triangulation. The rear Corvette suspension is a compact package which is challenging when using coil-over shocks and a different transaxle combination. The shape of the upper Corvette a-arms prevents the use of longer shocks and I’m not 100% satisfied with the current shock choice.
I used several pieces of sheet metal behind the doors to box the factory Lancia body and enclose areas that were previously surrounded by the uni-body. I made a new frame for the rear window and added sheet metal to close the spaces between the rear window and the rear quarter windows.
The unfinished rear clip is pictured next to the car in the pictures below. The rear suspension parts are from a C5 Corvette. The transaxle is from a front wheel drive Audi and so is a straight bolt up to the 4.2 liter Audi V8 ARS motor.

Fall 2009 – I purchased a 1976 Scorpion donor with the intention of doing an 037 styled car. I created the male mold of the rear body on top of the factory chassis after adding fender flares and shaping the exterior to the desired profile.

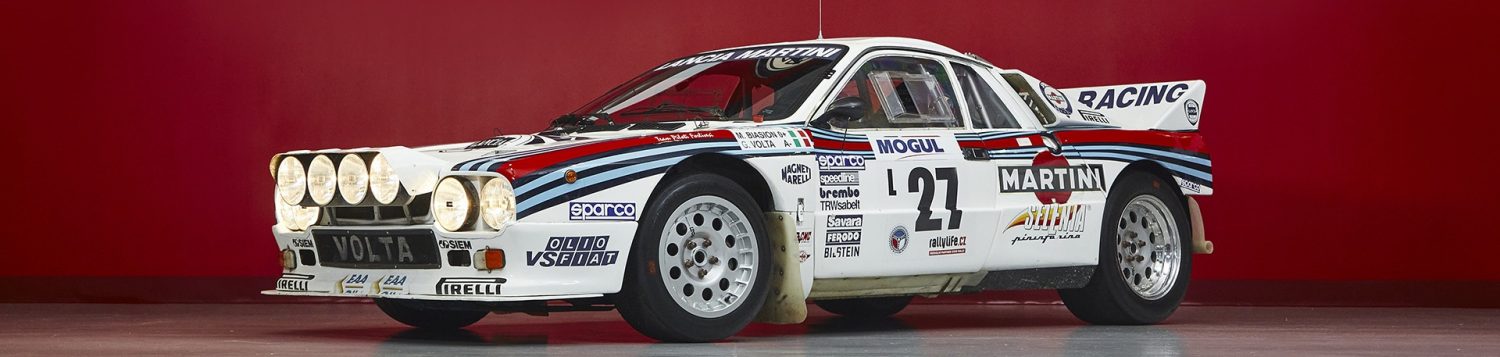
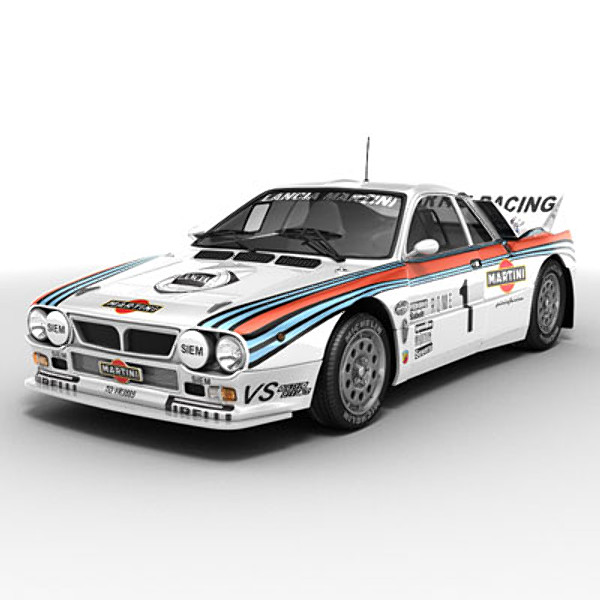
Computer rendering of the Lancia 037 competition car:

Do you have any posts befor this. Would love to see this build from the start.
Sorry, I don’t have more pictures from the early stages. I’ve started projects before, but not finished them and didn’t think to document the project until I was further along and the engine and rear suspension were complete.